Posted by dravon in LiveJournal, Project Review | 4 Comments
The Painted Tent is done and UP!
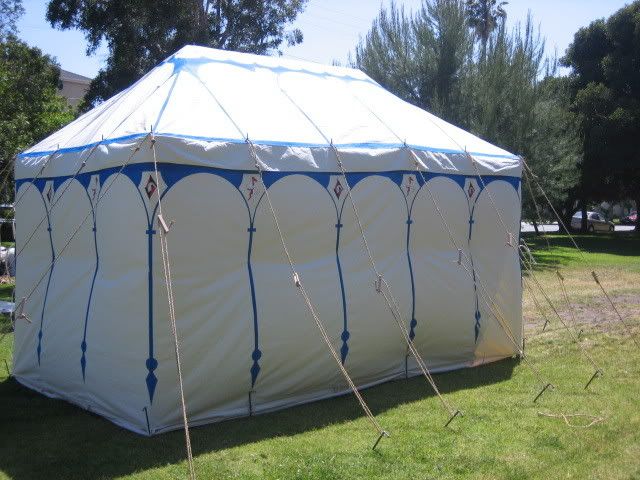
Before heading to the Faire site, we put the tent for a “trial run”. Here we have the roof up, and you can see the poles as well as the completed roof. Everything going well so far…

And now for one of the walls. This is the back and side of the tent. The walls are not staked down, so they are catching the wind. When the tent is put up for real, the walls will be staked down. I’m VERY glad we altered the design on the roof from the multi-tiered to the single tier. This is enough without being garish. Any more and it would be less attractive, I think. Seeing it all together, I have to admit Miles’ hunch that the white strip between the roof and the walls would be a nice offset was right on the money. I’m also very glad I special requested no dagging, but rather the flat valance edge that we got. Others with an eye for that kind of thing agreed with Miles that it came out nicely.
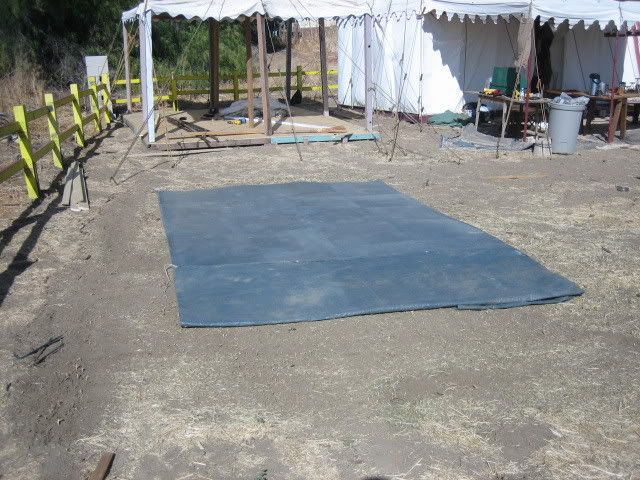
We did some work to see what the best method for roof lining/curtain assembly would be, but I’ll spare you those photos and instead flash forward to site setup! Our site started out simple enough…
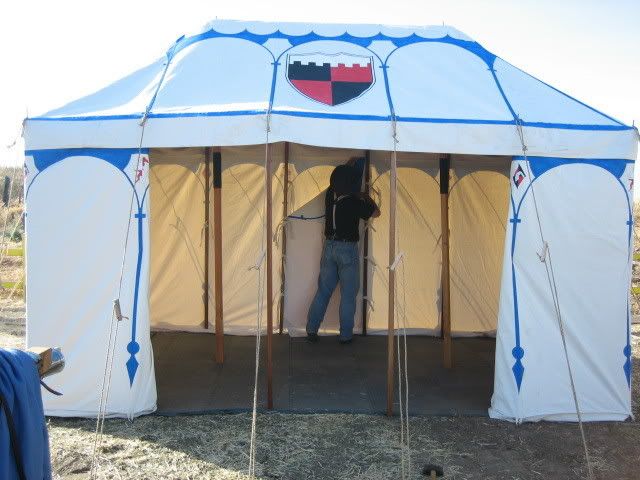
But within about 20 minutes, we had a real tent ready to go.
And here is the tent from the back, which nobody will see but it’s pretty anyway.

The coup de grace (or however that’s spelled) did indeed turn out to be the curtains. Unless you are pretty much right at the door, this bit of decadence is completely hidden from view. But damn, they do seem to be doing their intended job of keeping the heat from the sun trapped between the tent roof and them which allows for the interior of the tent to remain relatively cool. Opening the back walls a bit (as we did above) allows some wind to go through and helps even further.
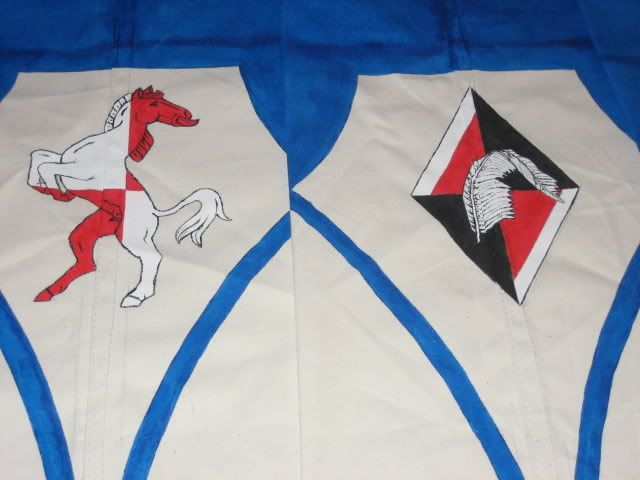
Since you can’t really see them in the picture, here’s the close-up of the shield insets. The horse is my SCA approved/registered badge, and the other one is Miles’. It hasn’t been approved/registered yet, but we’re hoping to do that soon.
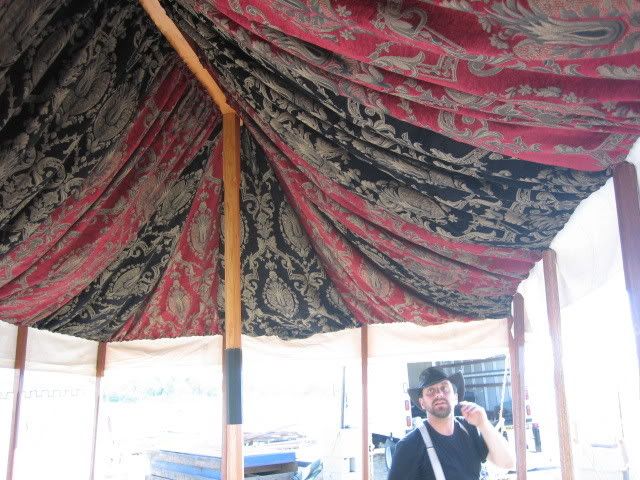
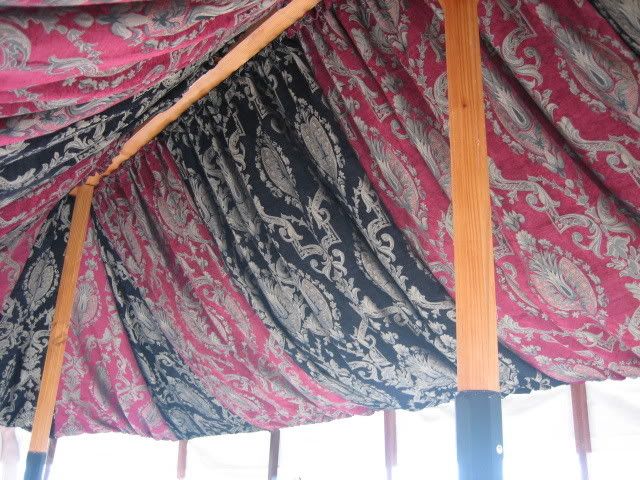
The curtains are literally a second roof. I’ve attached them to a strip of canvas which runs on top of the roof beam, so the curtains go up at the same time that the roof does. From there, the curtains hang down and then we string a cord through the bottom I added and that cord is then run around the perimeter of the tent. As you can see, the effect was most sumptous! Everybody oo’ed and aaaah’ed over the painting, but once they stepped inside it was like “oh my god!” One person said “Now THIS is a haupteman’s tent!” heh. I was all blushing and happy that everything turned out so nicely. Had lots of “you’re crazy, but it’s a good kind of crazy” type of comments.
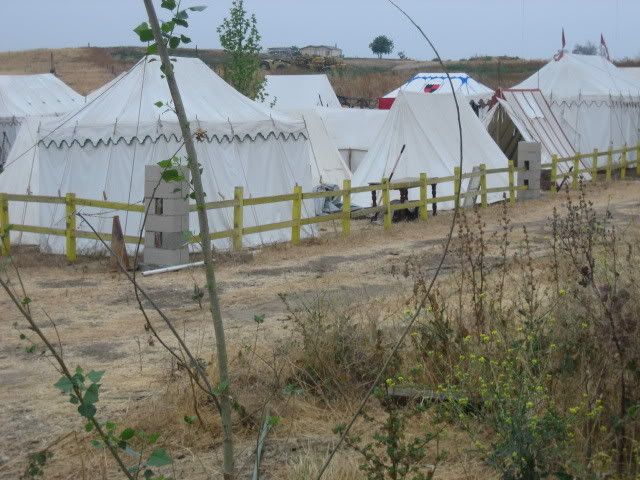
Walking down the hill towards the DHF encampment, it quickly becomes one of the most distinctively visible tents from a distance, even though it’s the very back of the camp. The pavilion on the front corner blocks the view of several rows of wedge tents, but I think that’s such a COOL view! One thing I would LOVE to see is about 1/4 to 1/2 of the wedge tents with a device in the middle of the side. I have a great many German (and plenty of Italian) woodcuts from the early 1500s in which this is an incredibly common treatment – simple, but punchy and lets you know exactly where your tent is. heh. The device only motif seemed to be the ‘common man’s’ decoration, given it’s prevalence, while the bigger tents got more ornate the larger they went. The largest/ highest ranking tents also look to be lined, which is my reference for lining the roof (I have wall curtains too, but they’ll only go on the hidden-from-view front and side interior walls that get direct sun), but now that I’ve felt it in action I understand exactly why they’d go to the effort/expense if they could.
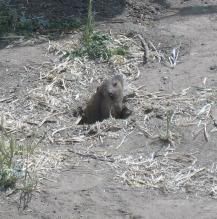
And the site is riddled with gopher holes. Meet the camp mascot, Jack. Apparently, the term “gopher” does not necessarily mean “priarie dog”. In addition, the area has a rather active pack of coyotes, which we learned as they surrounded and ran through the camp in the middle of freaking night, howling and yipping the whole time. Coyote howls are very distinctive, and piercing. I hope they don’t do that every Saturday night! I told Miles the following morning “I don’t remember you ever mentioning coyotes on site”, to which he replied “I have never heard them before.” Hum. Interesting.
So there. The culmination of 2 or 3 months worth of work. *sigh of relief*
We ordered 2 of these rectangular marquee tents from TentSmiths. This is just one of them. The other will have the same treatment, but the roof on the second one features the vent so we’ll have to figure out how to handle the curtains there. The other tent will also have Miles’ device in the center front, rather than mine. Very happy with the purchase and definitely recommend them to anyone who is looking for a well put-together, solid tent.
The tents were painted using a screenprinter’s ink called Versatex. Since the ink requires heat setting and I neither felt like ironing the entire thing nor had access to a commercial dryer, I got the air fixative. I managed to get paint all over the sleeve of my shirt during the painting process, and not one bit of it came out in the wash so I think we’re good on that front. Without the fixative, the ink/paint is water soluable.
The entirety of this tent was hand painted. No air brushing, no stenciling, no stamping. What I did was print out templates onto manilla folders, cut out the template, then pencil in around the template. With the pencil lines on the tent, I then went back and hand painted everything. Given the texture of the canvas and the texture of the paint, I found it most effective to paint the section with 100% ink until I was at the stage of 95% covered, then I’d dip my brush into water and go back over the section. This did not dilute the ink enough to make a noticable difference, but it dilute it enough to allow the paint to sink into the texture of the canvas without leaving tiny white dots all over everything. There are spots on the tent were I got a little carried away with the water and did thin the color too much, but it wasn’t that bad. The most shocking discovery is how translutent the red paint is. If you get right on top of the badge you can see the penciled in R color code. The black was fine, no pencil marks show through that, and the white is okay as well provided you lay down enough coats, but I could paint for an hour on the red and it never covered up the pencil. This actually came in very handy when it came time to do the horses! Just something to keep in mind if you paint your pavilion with Versatex.


It looks fantastic, well done you! 🙂
I can’t wait to see it in person!
Wow! That looks stunning, inside and out.
That’s nice enough for you and Miles to have gotten married in. 😀